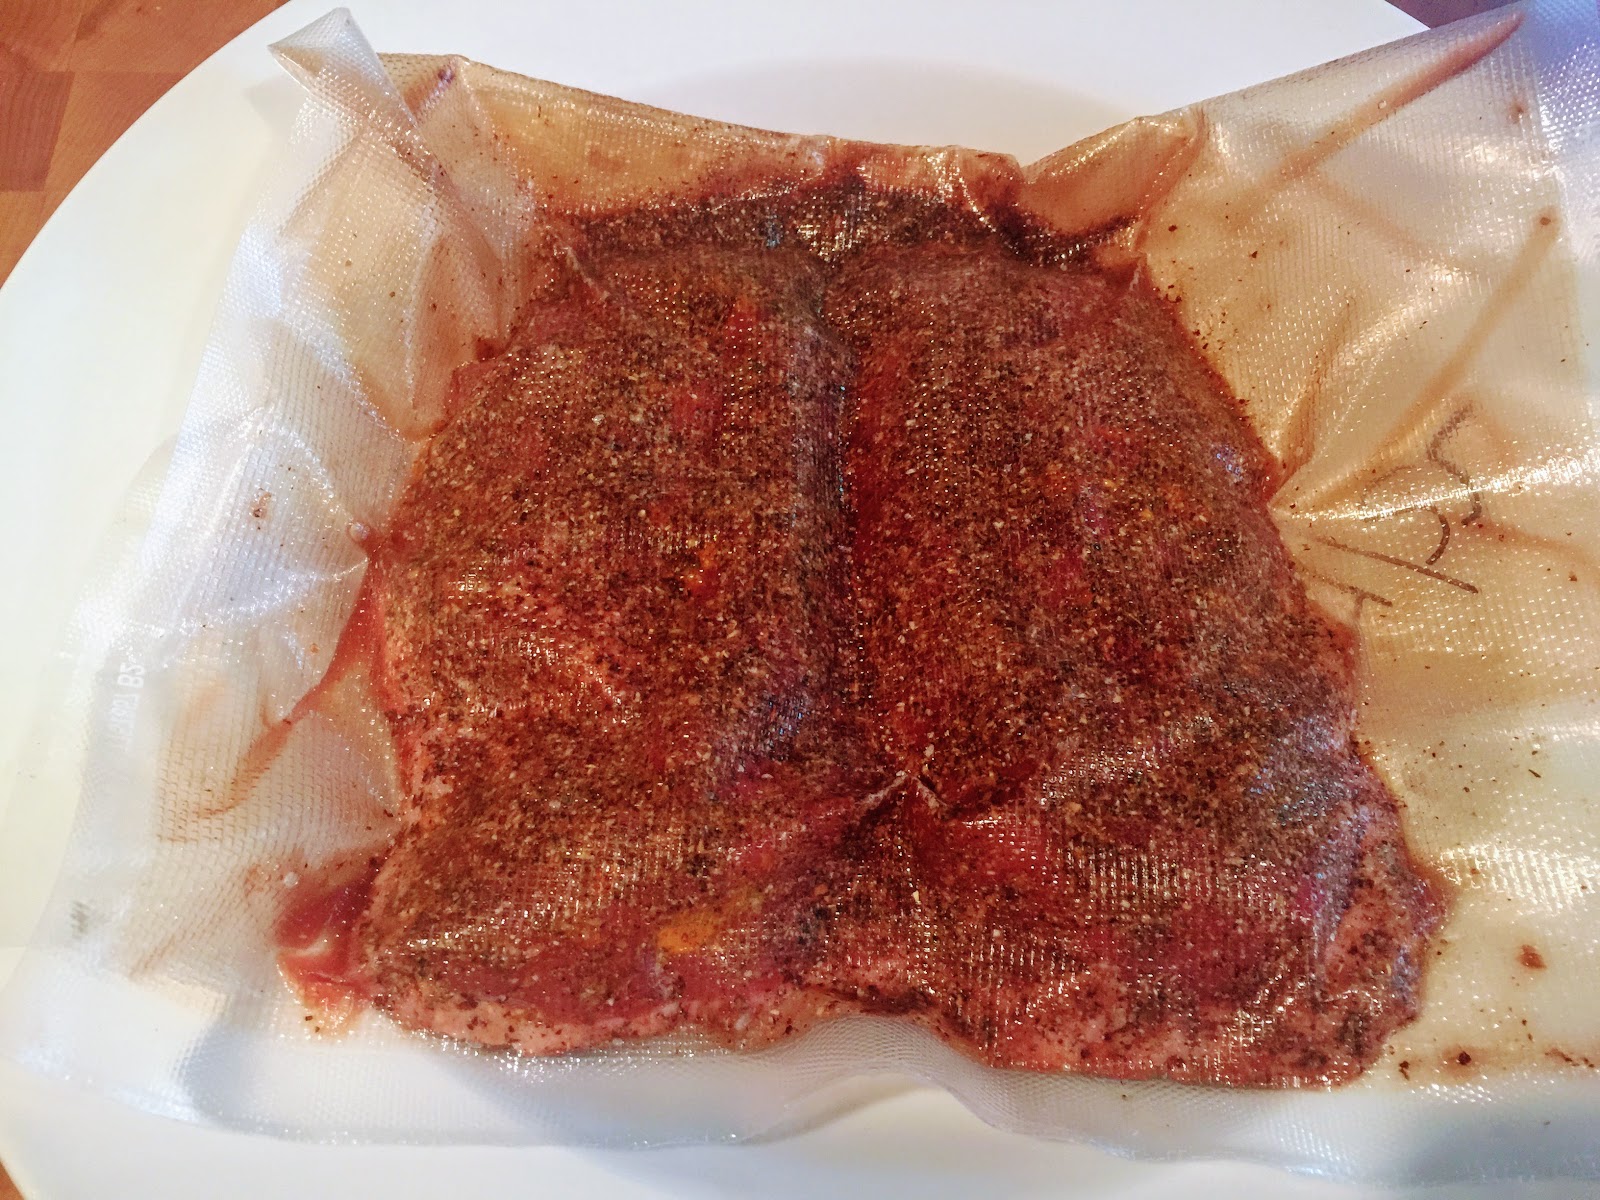
Growing up in NYC and eating (PORK) was normal for me. Having a Sicilian Grandfather turned me on too many many different Italians foods which I miss and love. That being said I have not eaten any Treif in almost 18 years. About 8 months ago I saw a recipe being made on T.V. called, yup you guessed it Pasta Carbonara. I remembered eating this many times as a young man. Traditional Carbonara like the one my grandfather cooked was made with Pancetta or Guanciale. So with that I needed a meat that was high in fat and tasted divine. Well we all know that's Duck. Hence my creation of Duckcetta was born.
Recipe
2 whole eggs and 7 yolks
35 grams each of Pecorino Romano and Parmesano Reggiano cheese
200 grams of Duckcetta chopped up
28 grams to toasted finely chopped/grounded up pine nuts
50 grams of Pureeed Sundried Tom packs in olive oil
1.5 tsp of pepper
1 lb of Spaghetti
6 Tbl or more of Duck fat or Olive oil
Although this is my recipe I decided to use Serious Eats technique for making the Pasta Carbonara. Their technique is far superior and easier than I was doing. Oh and they have a video too.

Toast the Pinenuts and grind them up too. I forgot to take a picture of this. Ground Pine nuts give this dish a great texture.

Measure out the Sun-Dried Tomatoes and puree using a sharp knife or a food processor.


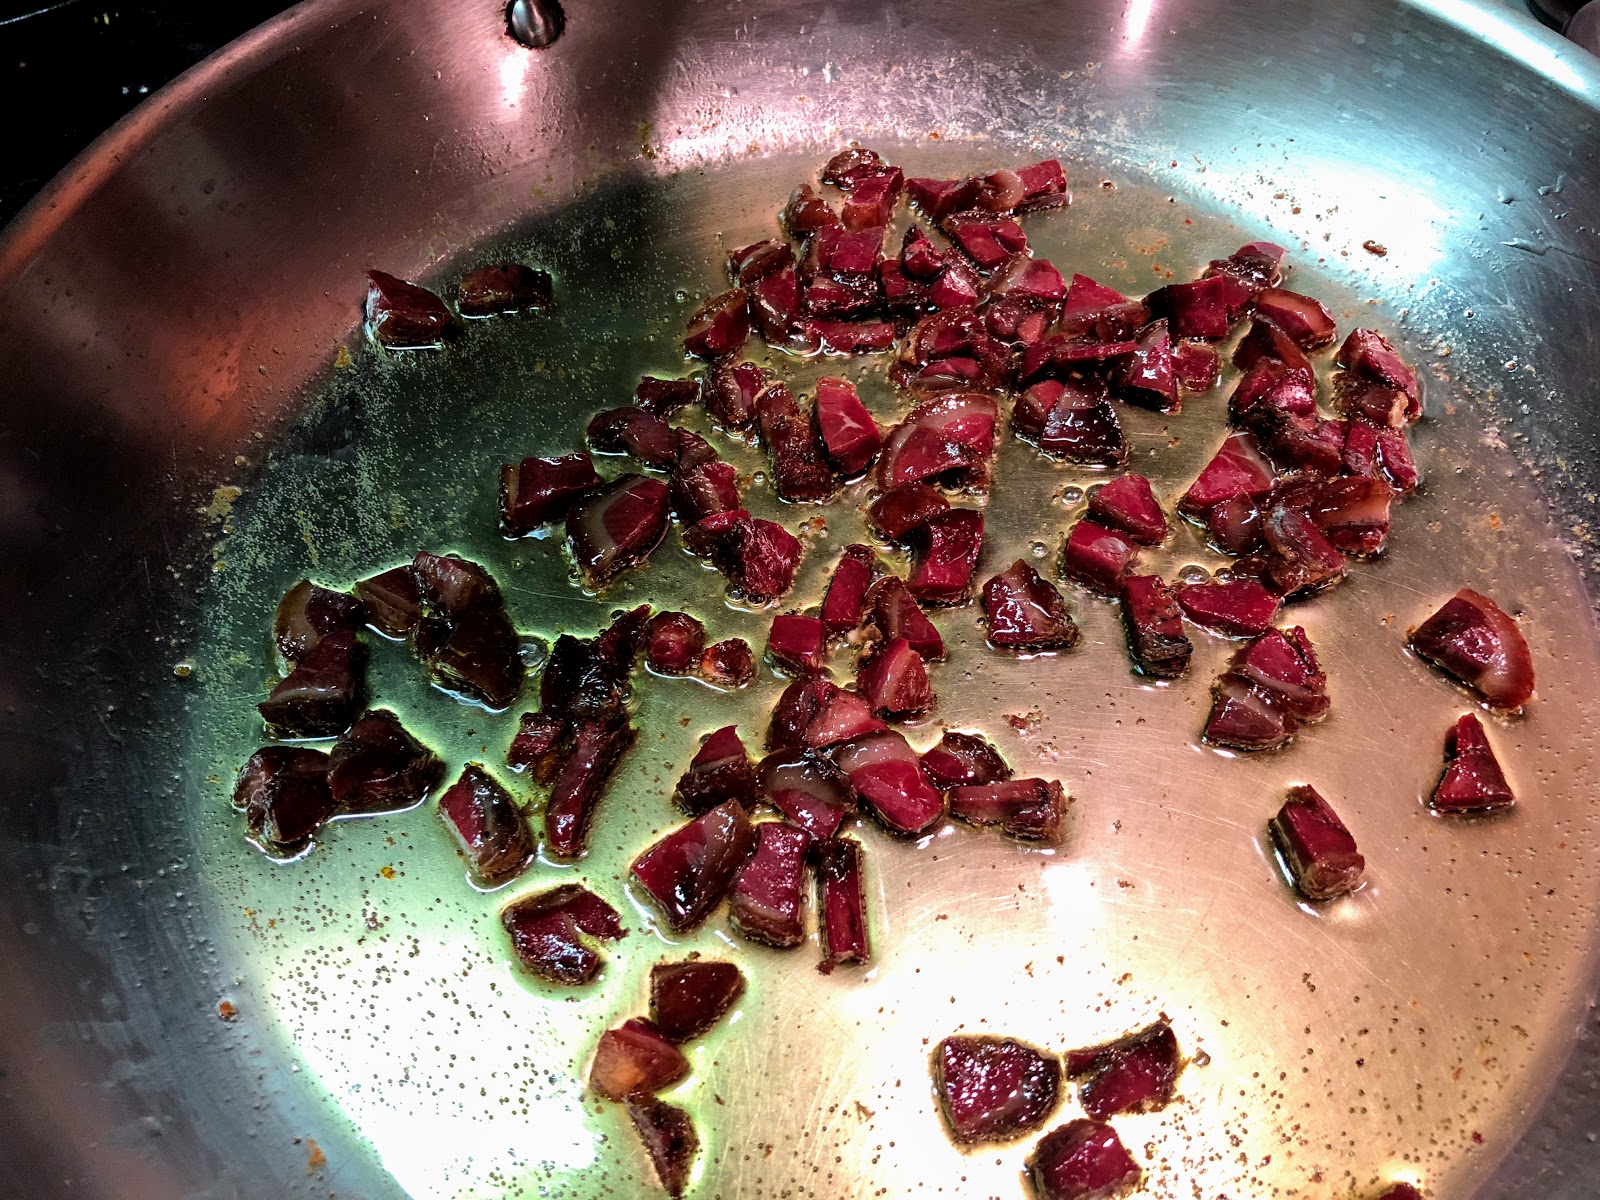
These are the end Pieces of the Duckcetta. As you can see in the picture to the right I sliced/chopped them up into about 3/8's of an inch.
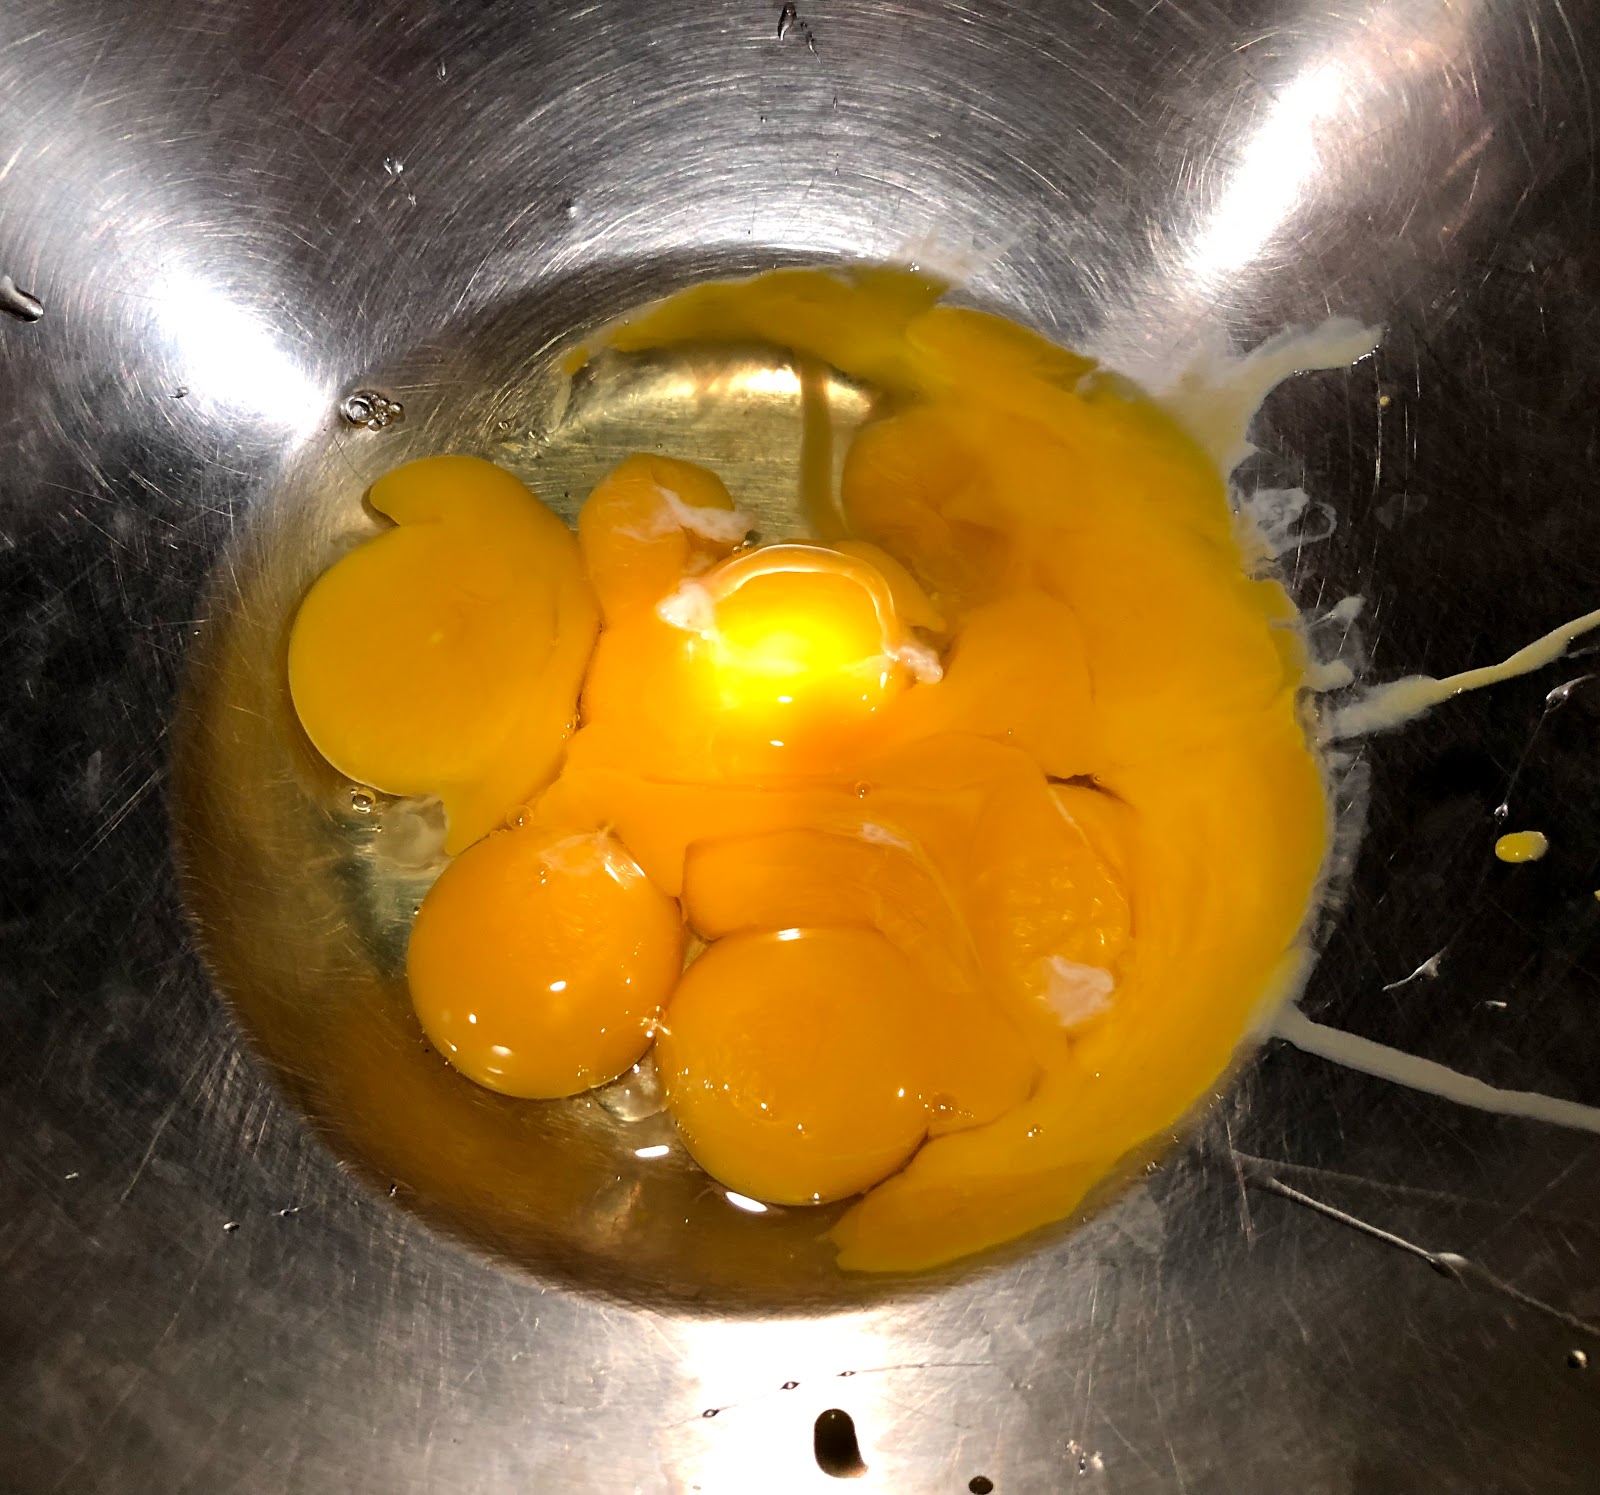

Get the eggs ready.......
Toss in the pepper...

Toss in the cheese, Ground up Pine Nuts and cheese. Mix thoroughly.
Add about 3 Tbl. of Duck fat to the pan and saute the Duckcetta on a very low flame. The Goal is render as much fat as possible without over cooking the Duckcetta.

Mean while.... You should have had the pot of salted water boiling already. Cook the pasta right to the point before al-Dente. reserve 2 cups of Pasta water. Toss the al-dente pasta into pan with the Duckcetta and toss until all the pasta is coated with the duck fat. You might need to add some more so have some on hand.

Almost done.... Add the now Fat coated Pasta and Guanciale to the bowl that contains the eggs mixture. Add about a 1/2 of water to the pasta and toss with tongs. Using the pasta pot you just used as a double boiler (keep it on simmer) place the bowl on top and keep folding the pasta using tongs. The goal is to thicken the sauce ever so gently without breaking the eggs. keep adding water until you achieve the desired viscosity.


REVIEW- AMAZING!!!