If you google Kishke, you will see that it's a generic term for various types of sausages or stuffed intestines. The actual word means Intestines. The fillings could almost be anything. Sometimes just meat and grain or only grains and veggies. I've seen many versions. I guess it depends on where you grew up and what your family traditions were. I won't focus on anything but what I did. When I was growing up, I remember my Mom or my Bubbe tossing a bunch of things together, shaping them into funky looking shapes and frying them. Matzah meal is the traditional binder used in Kishke so during Passover Kishke were made often.
Anyhow a few weeks ago I had an inkling for Kasha Varnishkes but wanted to do something different. I love making dishes that are reminiscent of my childhood. I decided to combine my love of two recipes which are Kishke and Kasha. Was this a wise choice? Not sure yet. As of this writing, I haven't cooked them yet.
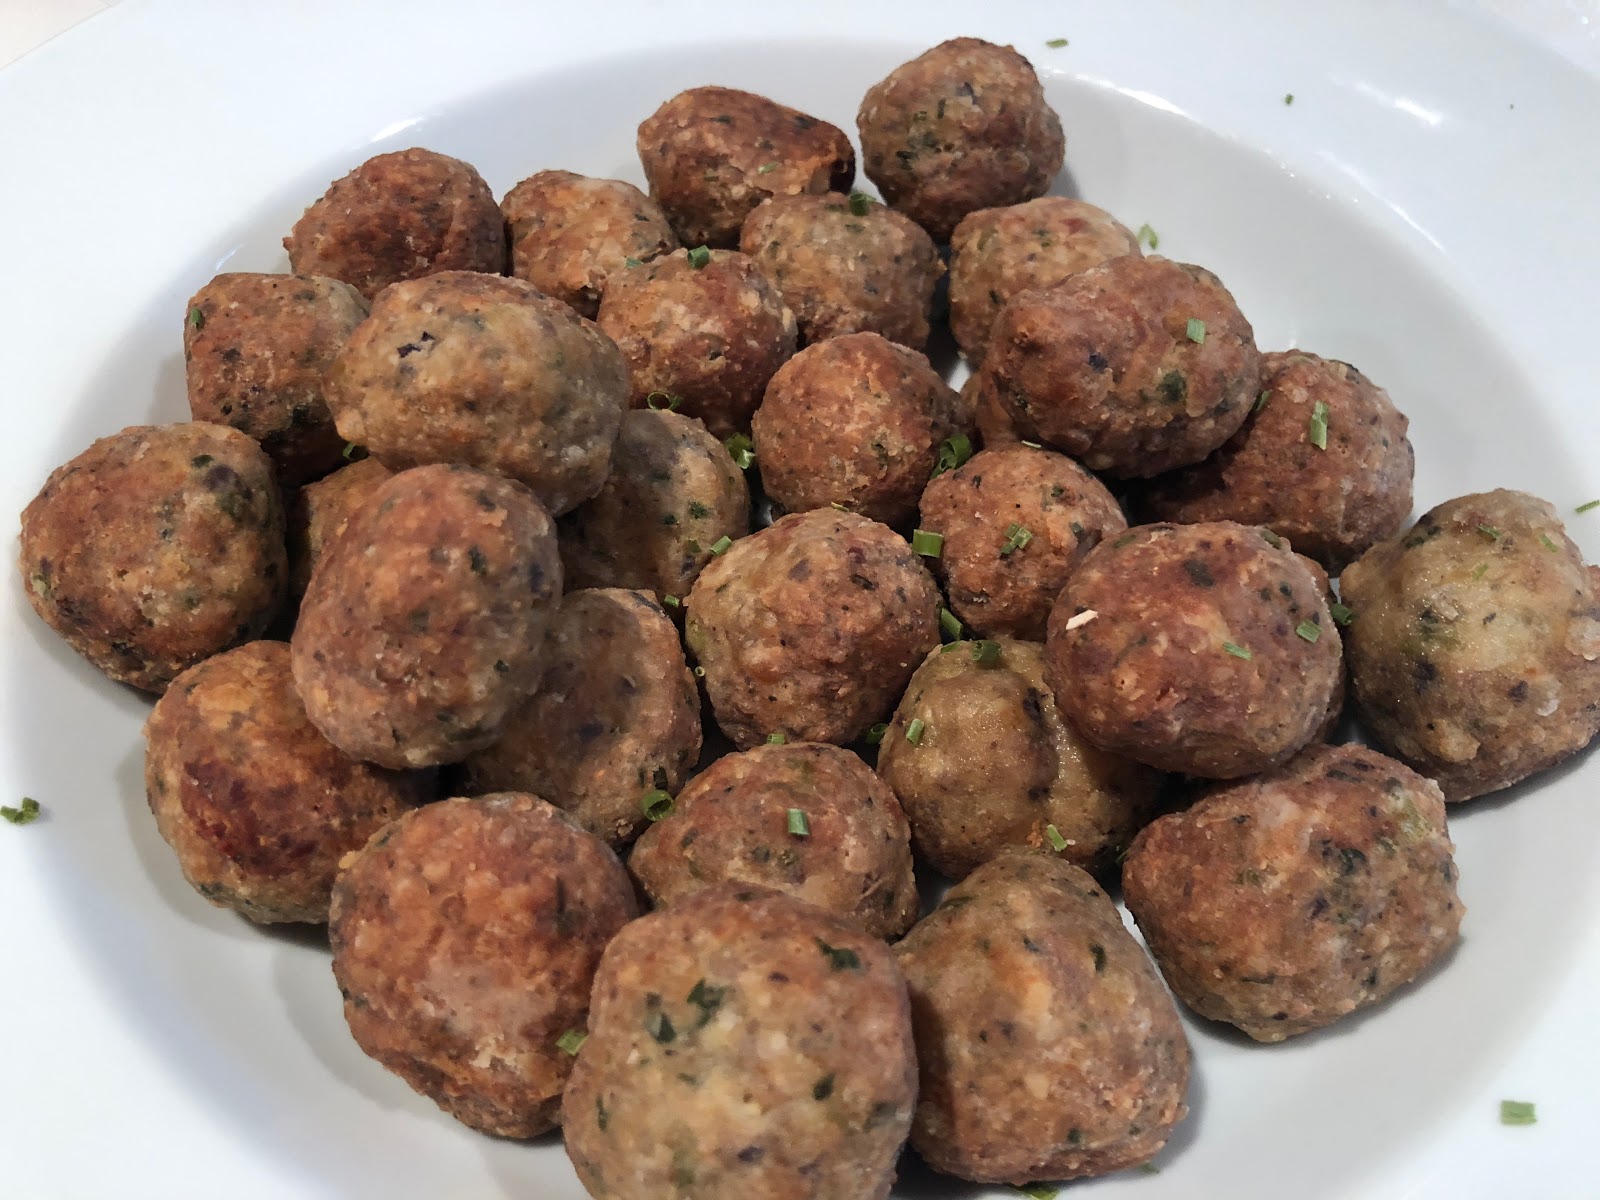
I had a lot of issues making the Kishke. Formulating a recipe from nothing was hard. Combining these crazy ingredients and not knowing how they were going to come out was the crazy part. This is certainly a crazy out of the box version of Kishke. It's a hodgepodge recipe. Some of these ingredients were a last minute adjustment to help with the binding. I made several patties (more like 12) testing them for seasoning and found that that they were not holding together in the pan. I had to toss in a lot of things to help them hold their shape.


This is part of the flat that I will use for Bacon ( gonna make Chocolate Covered Bacon). The pic to the right is all the fat I kept.
I used Wolffs Kasha which is a great brand. Follow the instructions to the tee. It works great. If you can find it buy some Wholegrain Buckwheat, dry roast them and make Kasha. The Boxed Kasha is dry roasted Whole Buckwheat. I also added beef broth for the simmering part. Do this step the day before.
I took some avocado oil and gave a quick coating to the brisket along with some pepper and gave them a quick sear to boost the flavor of the kishke.
Here they are getting prepped for the grinder. Oh I almost forgot you need to do this all these steps the day before including the Kasha.
Sauté the onions and celery adding a touch of salt and pepper. You just need a little caramelization which will also add to the overall flavor.
I Sous-Vide the carrots at 186℉ for about 45 minutes.
Toss Meat, Fat, Carrots, Celery and Onion Mixture in one large container and stick in freezer. You will need to partially freeze everything. Doing this makes it easier to grind. Use this time to prep your herbs and spices etc. It's entirely up to you but I find do all of this the day before and placing this whole container the refrigerator.

Measure everything out based on the percentage of all the meat, fat and veggies. I.E 9351 X 1.9% = 177.677 which I round up to 178 grams.
Place the first 12 ingredients in one big bowl. The next 4 in theirs and the last two in their bowl. Have at least 3 quarts of ice water on hand. When I say ice water I mean a container filled with ice and water. You will be adding water to the mixer to achieve a certain texture. It needs to feel wet and thick between your fingers. Very hard to describe. You will need to fry several patties to figure out if the seasoning is correct and the texture.

Toss in the first 12 ingredients and mix it all up. That's right we are going to grind everything together. Again at this step you could place put everything in the refrigerator and wait till the following day too.
This is my grinder in action. This baby will grind 18 pounds a minute. I am not fast enough to slow it down. Having a big grinder cuts down on time and prevents meat from heating up due to it's size and speed. This took me 90 secs to do. Contrast that using a kitchen aid grinder and you're looking at an hour to grind everything up. Over that hour that hour the grinder would surely heat up and so would the meat.


After you grind everything up you will toss everything back into the container and refrigerate. You want everything cold again before proceeding. I normally put everything the freezeer for about 45 minutes than trasfer to the refriegrrator. This is a picture of my huge mixer. Oh and here's a link of it in ACTION. It was an estimate but I chopped up 3 bunches of Green Onions and two bunches of Italian parsley and added them mixer too. I should have added one more bunch each. Anyhow get your mixer going and add the Green Onions and parsley.
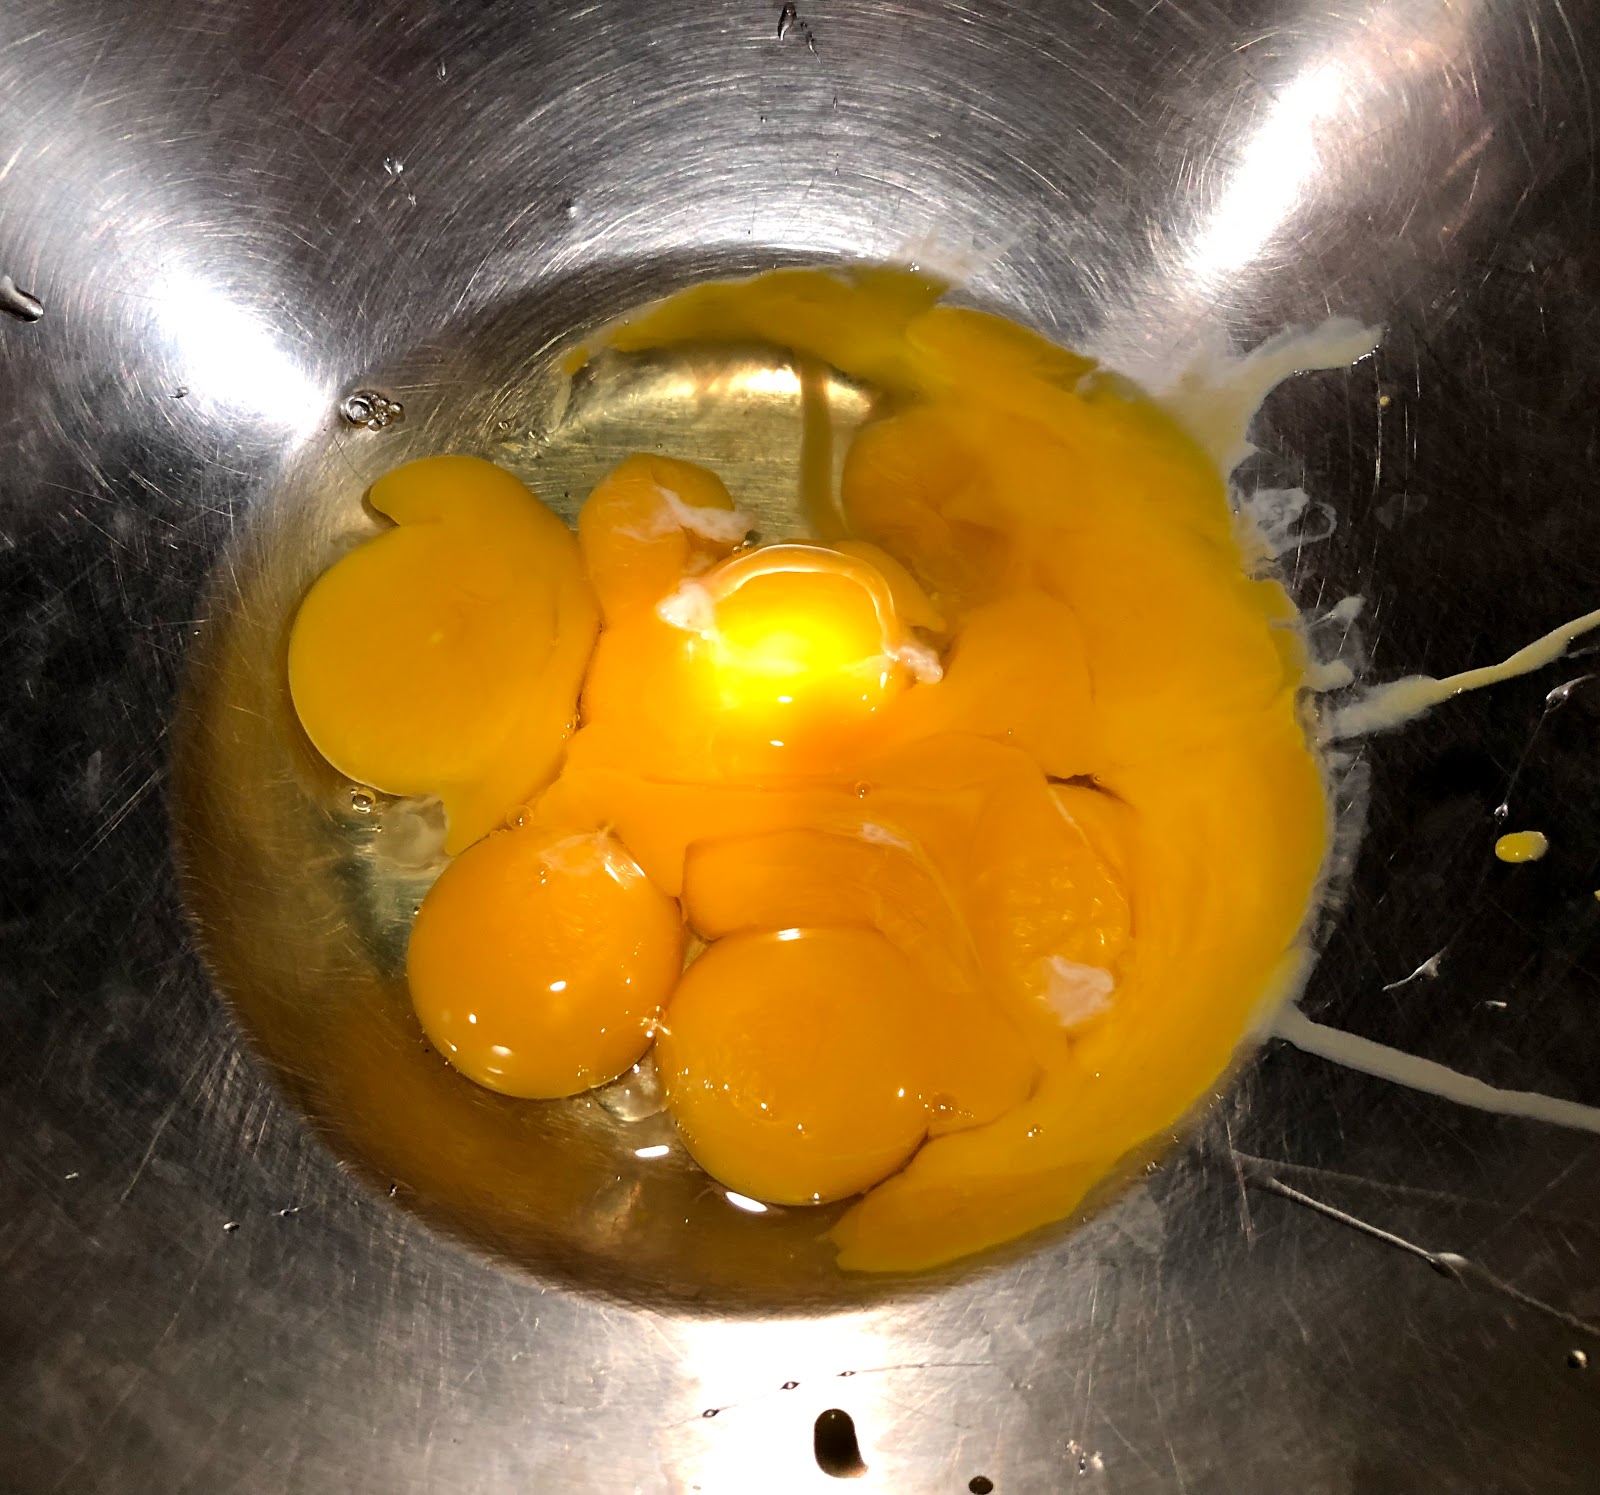
Add the remaining ingredients slowly. Add the eggs and avocado…..than add all the binders.
Storytime with me- So my original thoughts was to use Kasha instead of the flavorless Matzah meal for flavor. I was going to use it as the binder too (that was my hope). I knew I might have some binding issues but nothing I could not resolve with some added Non-Fat-Milk Powder and Sodium Phosphates not to mention all the other ingredients.

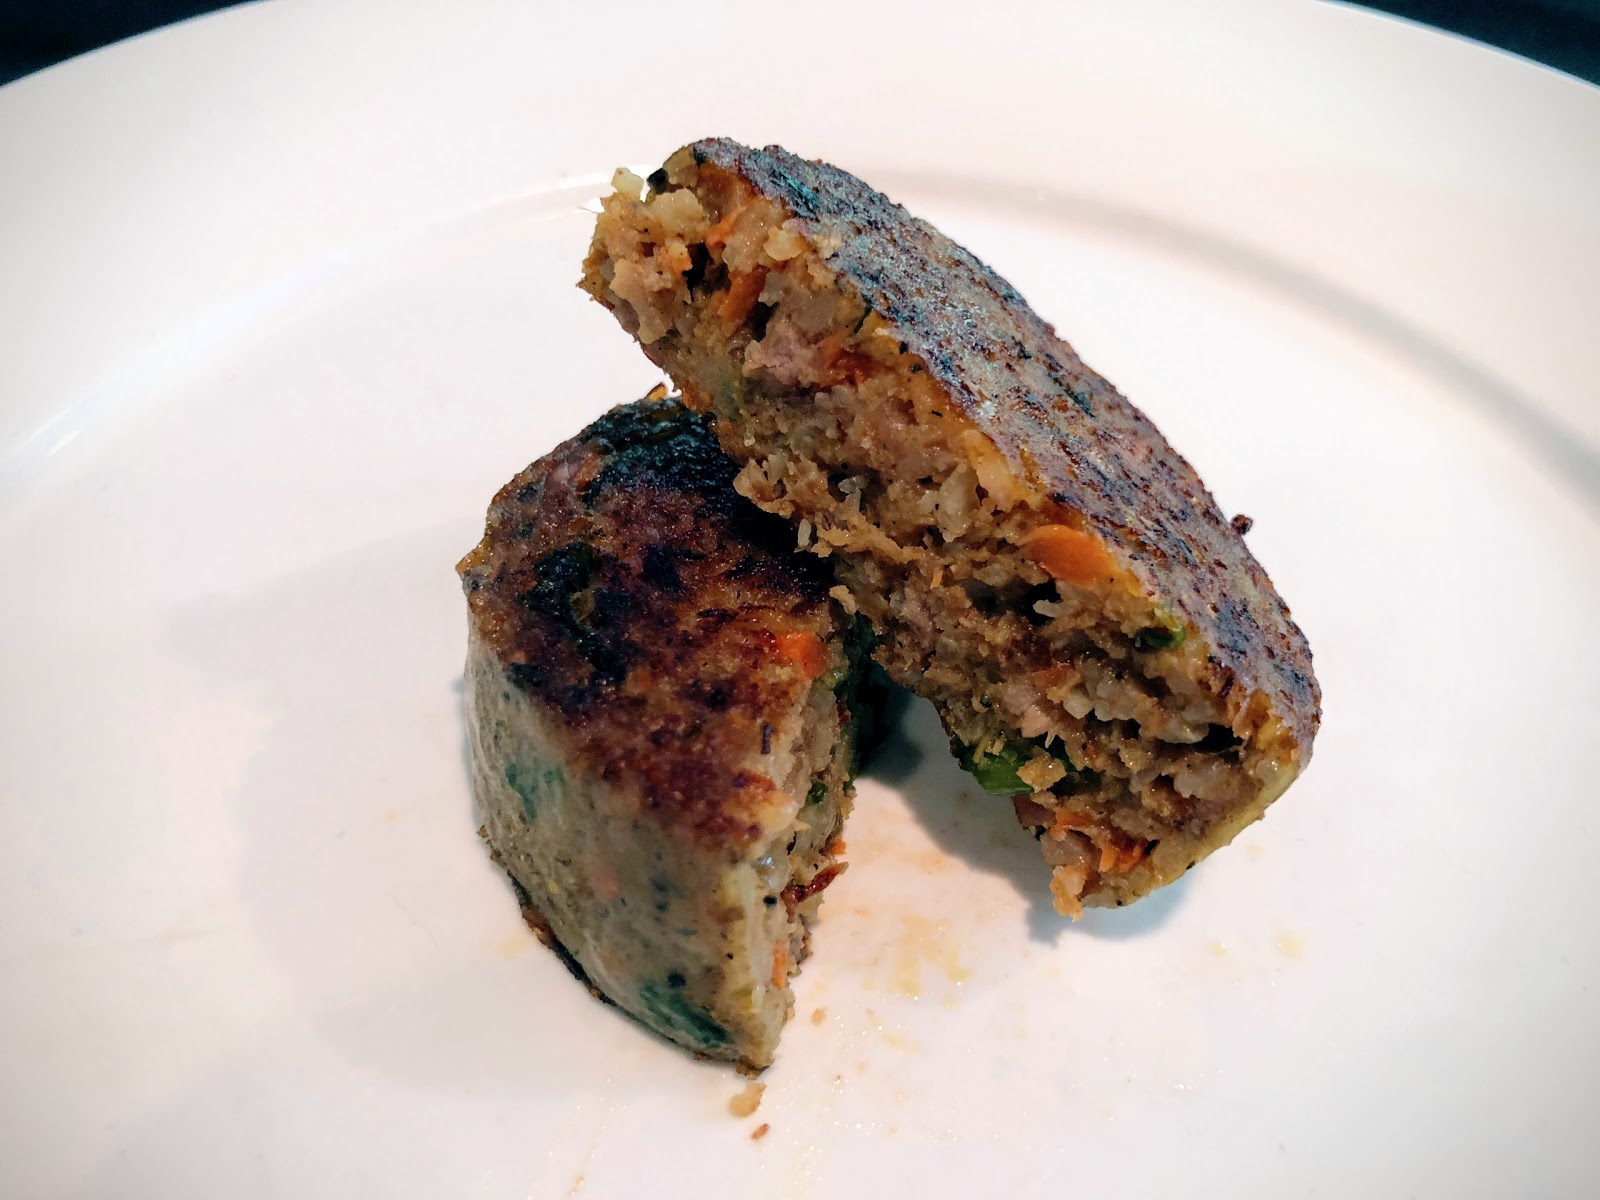
After everything was mixed I knew I had to test for seasoning. I took out a chunk of meat fried it up to assess the seasoning. Dang it tasted awesome but it fell apart. Dang, it did not hold together as hoped. So I added some more NFM and it didn't help much. I than decided to add some Soy Protein Isolate Powder. Mind you I was only adding small amounts all the while taking notes. Anyhow this helped a little bit more. Still not there!!! What to do? I added some eggs to help with the binding. This helped me a lot. I was on to something…..so it seemed. I tested some more samples but now it through off the taste. Dang now I have to re-season and calculate percentages again. What an absolute pain in the ass. Ok try another test patty. Tasted good but fell apart.
 OK….. I had a culinary epiphany. I was going to resolve my binding issues with Transglutaminase. But I needed to increase the protein content if this was going to work. So with complete speculation I added more eggs and more Soy. I needed to adjust the seasoning and I need to add extra fat. I chose Avocado oil because I had it on hand and it's damn good. The speculation comes in because it will take 24 hours for the proteins to bond and I won't know how it turned out until it's all been cooked. This could be a 24 lb blunder.

Prep the Sausage Stuffer. This time I used 65 mm Collagen casings.
I made different sizes so I could give them away as gifts.
All vac sealed awaiting a SV bath. They will be cooked at 151 degrees for 4.5 hours which will cook and pasteurize them. Don't forget they need a 24 hour rest in the cooler so the proteins can bond with the TG.
I used a 64 L polycarbonate container. This baby is huge. You must consider water to meat ratio. The water must be allowed to circulate around the food; otherwise, it will not cook properly. I used two IC units. In addition I put two temp probes at the bottom to monitor the temp. I also used SV balls and plastic wrap to insulate and prevent water evaporation.
 Probes at the bottom connected to a butter knife so they would sink.
My set up- I used tap water and several stock pots to bring containers temp up rapidly. Tossing in boiling water really helps expedite things. Anyhow I was concerned that tossing in 24 lbs of very cold meat would lower the containers temp down to much so I compensated by setting the temps at 165℉ initially. After temp hit 165℉ I dumped all Kishke in and the temp only dropped 3 degrees which means I had a huge amount of water to meat ratio. All GOOD!!! I set temp to 151℉, tossed in the SV balls and covered the top with plastic wrap. Set timer at 4.5 hours.
After the elapsed time of 4.5 hours I place all the sausages in a large cooler with ice water and blue ice. Trying to bring down temp quickly so I can refrigerate them safely. You do not want to add warm meat to a refrigerator. I got lucky that night because it was in the 20's so I stuck the cooler in some snow and called it a night.


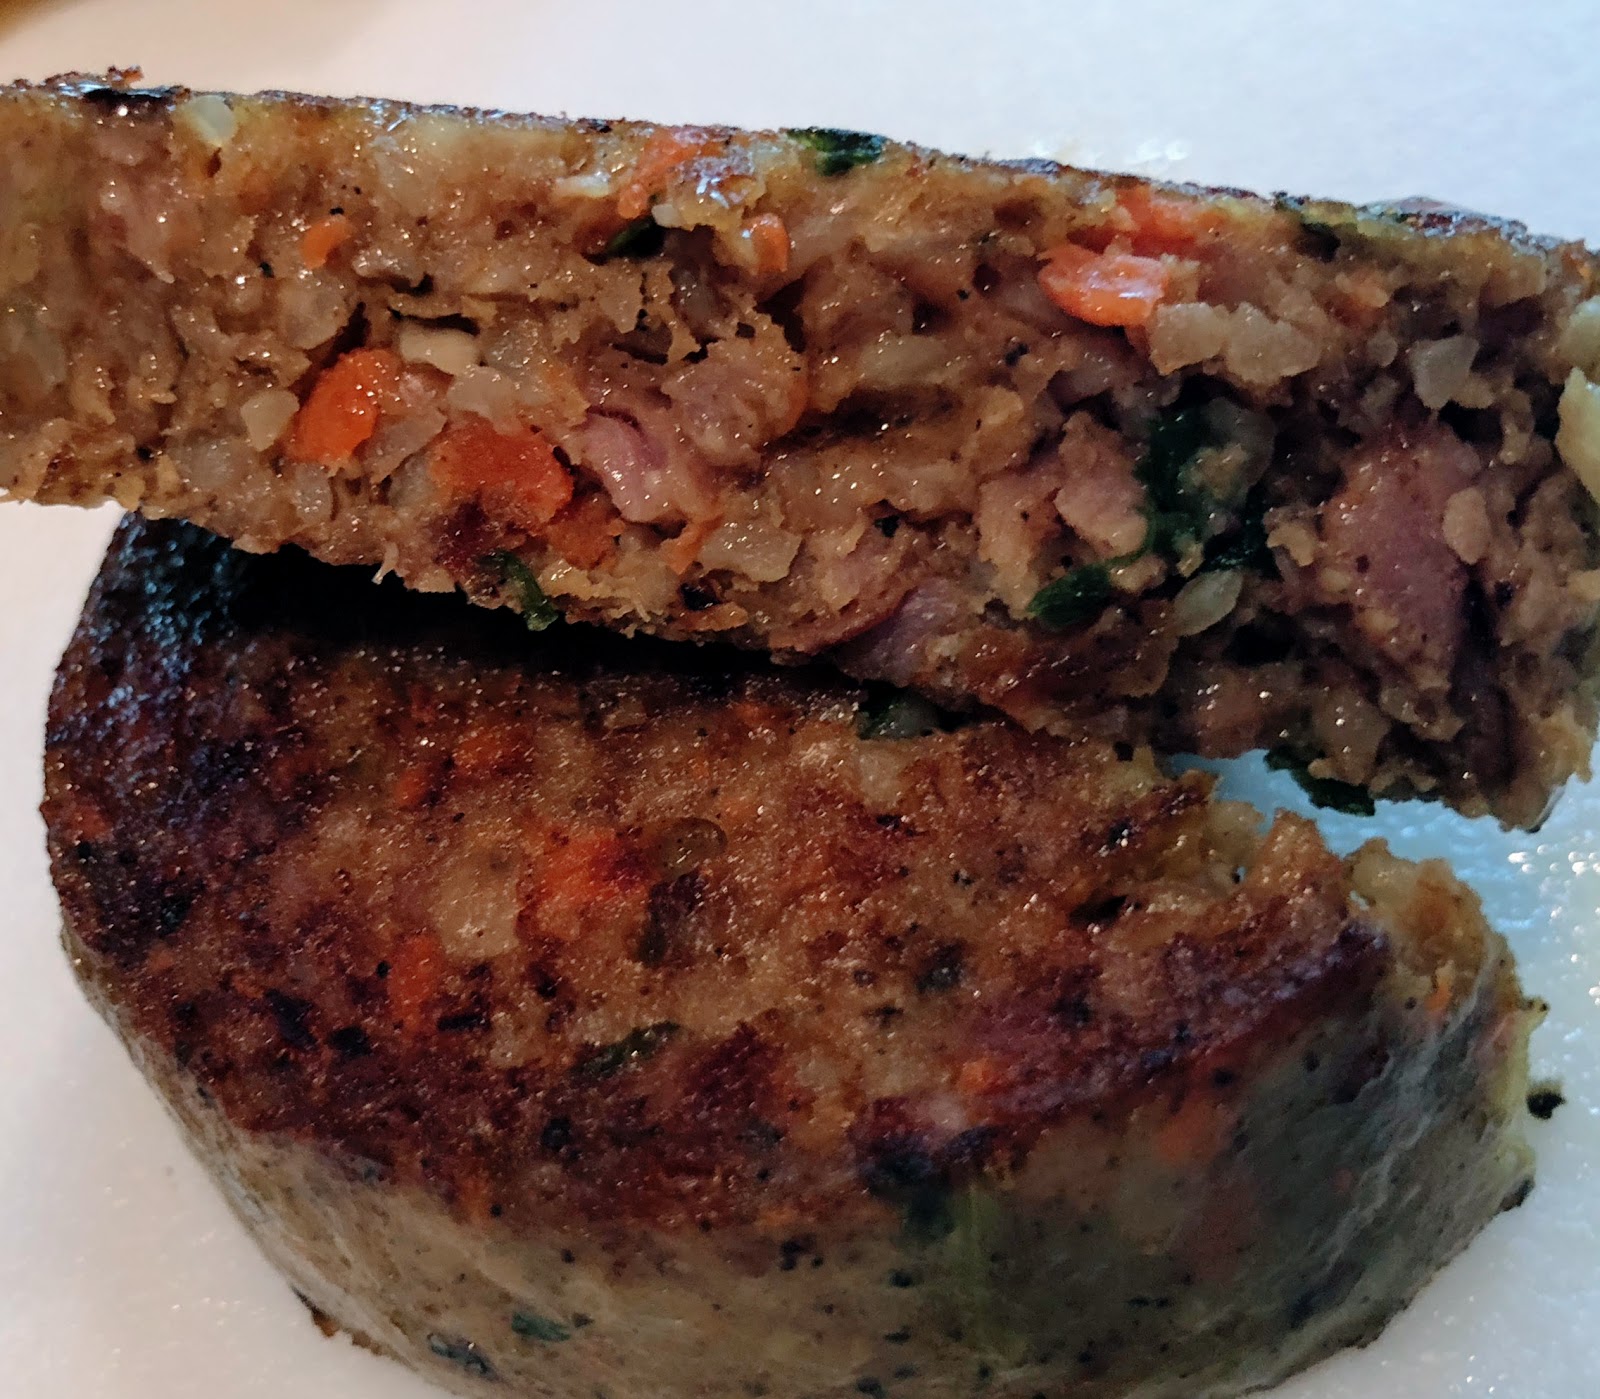
My Review - I hit a Grand-Slam!!!! Everything held together and tasted amazing. All the flavors came through meaning not one stood out. The Kasha texture and flavors were awesome but not distinct which is what I was going for. My revelation as how to bind these babies together worked very well.
TOP OF THE KISHKE